2 Portraits

Gus V3


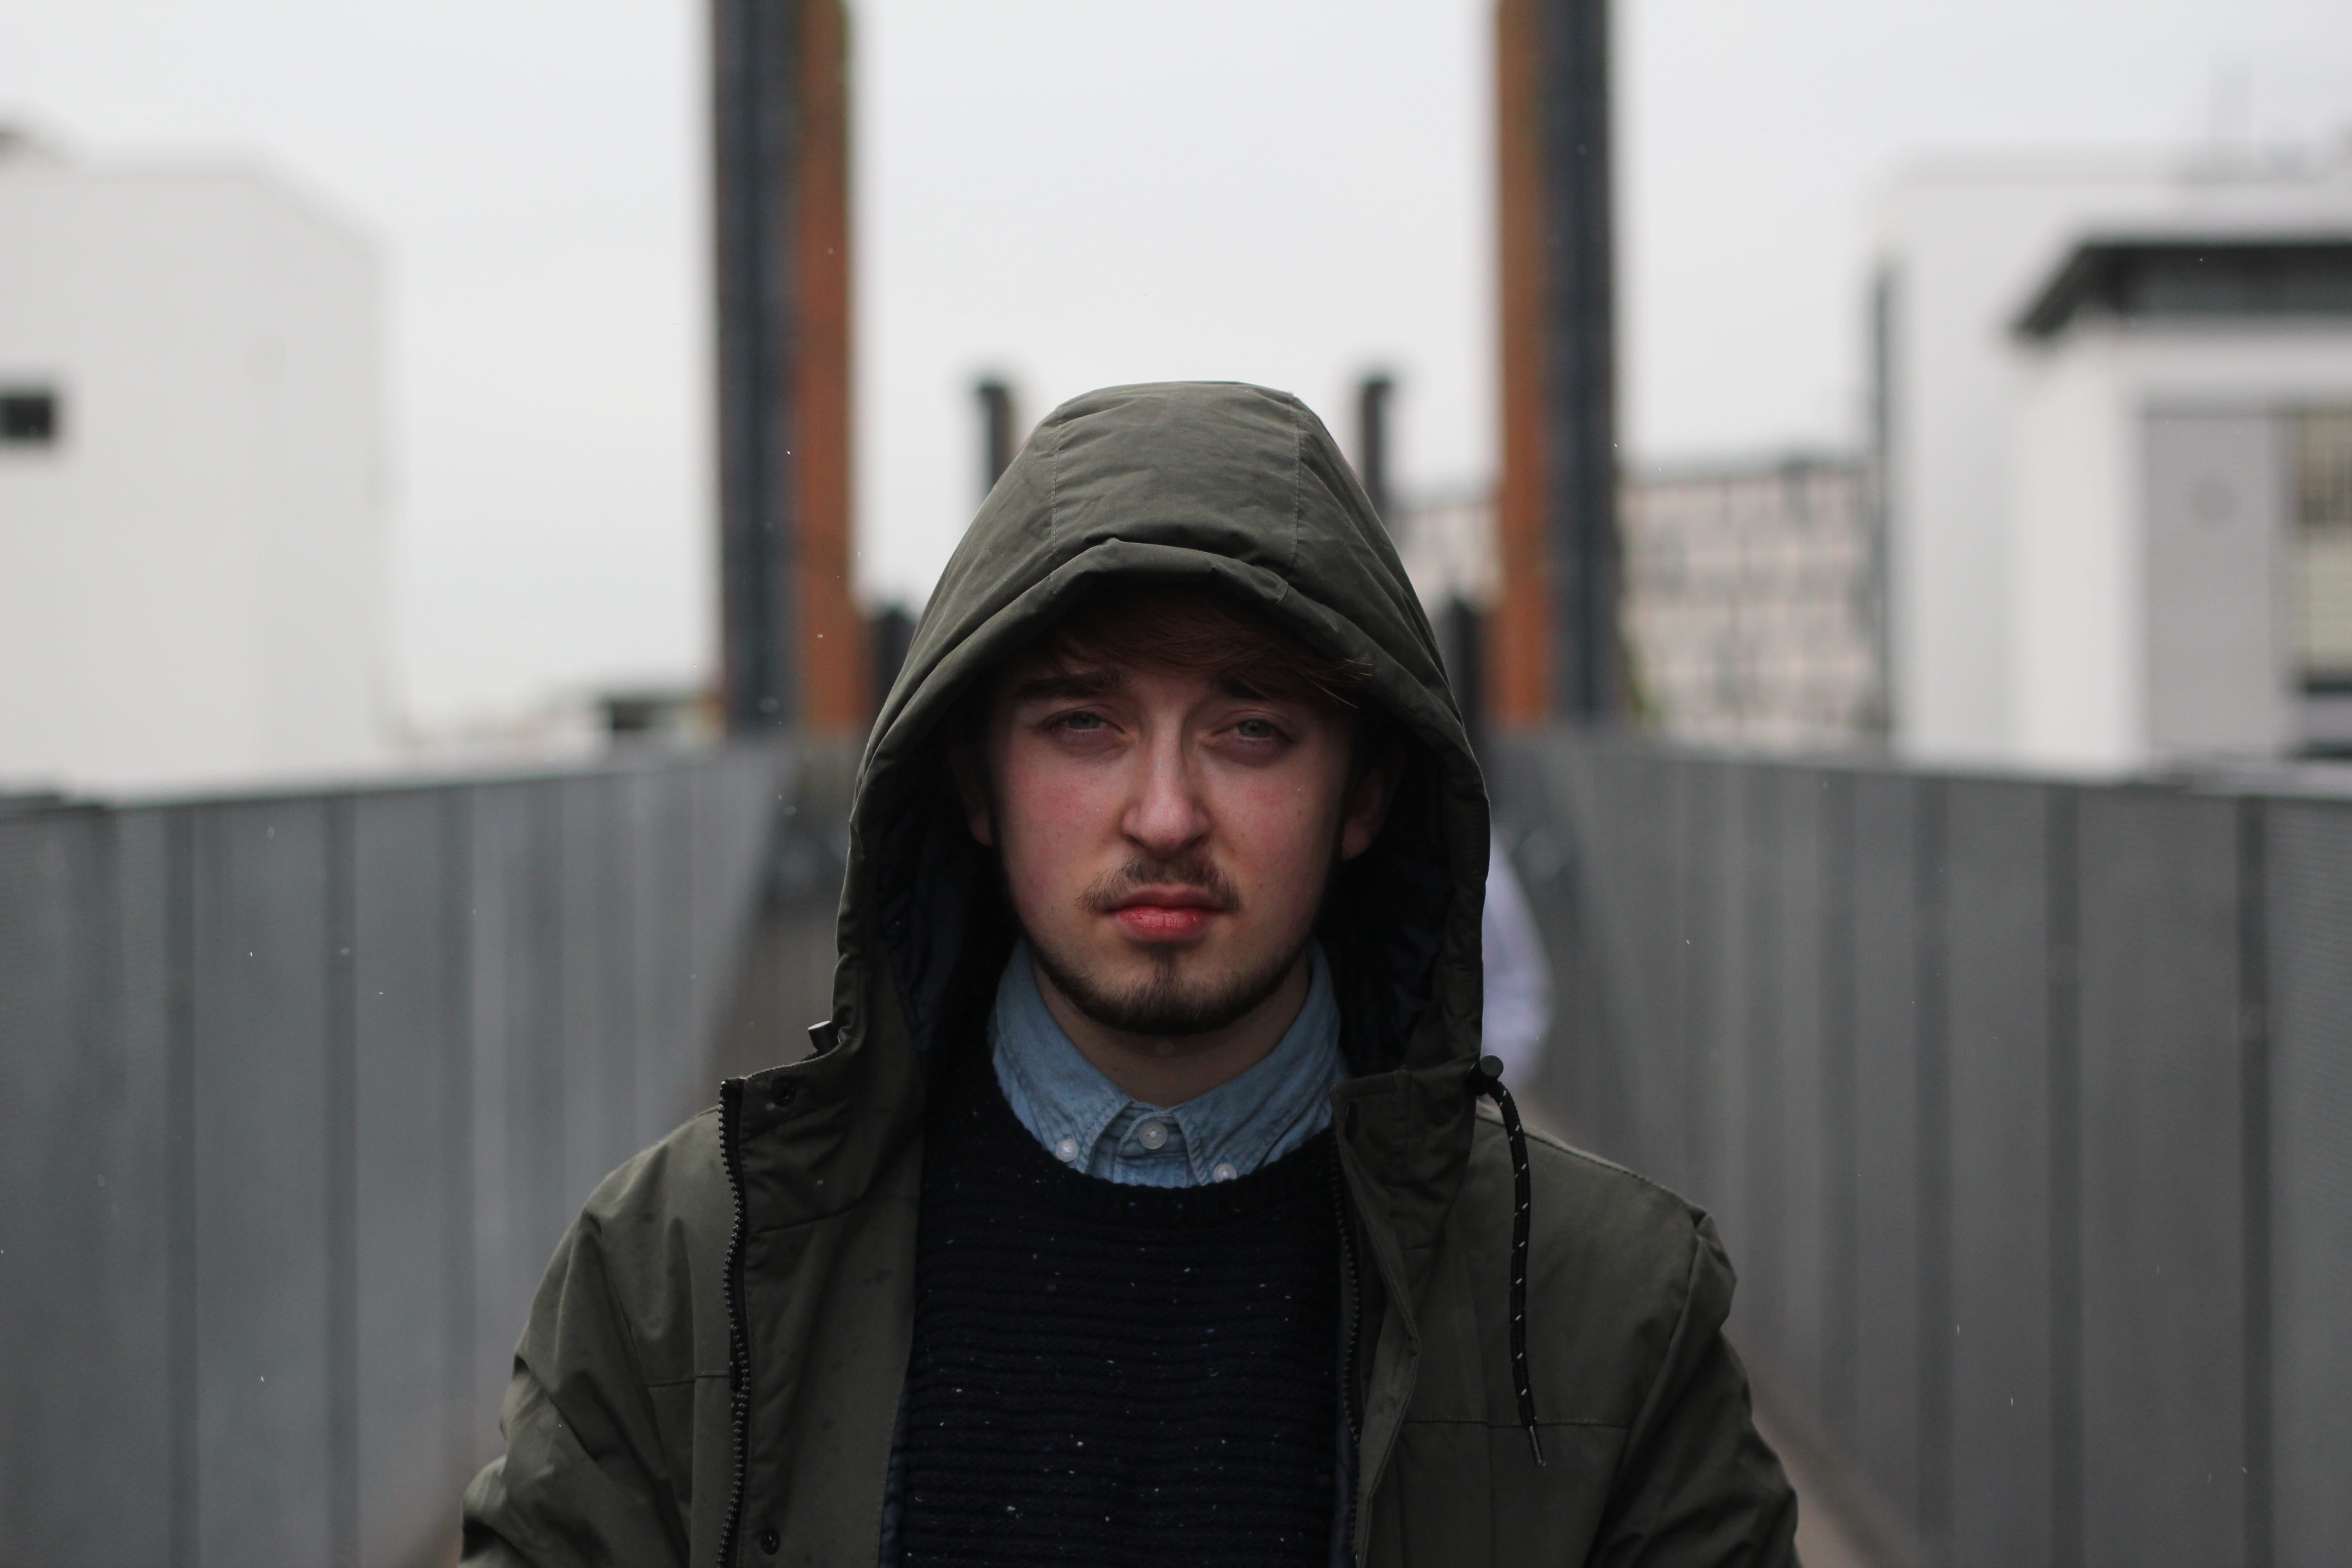
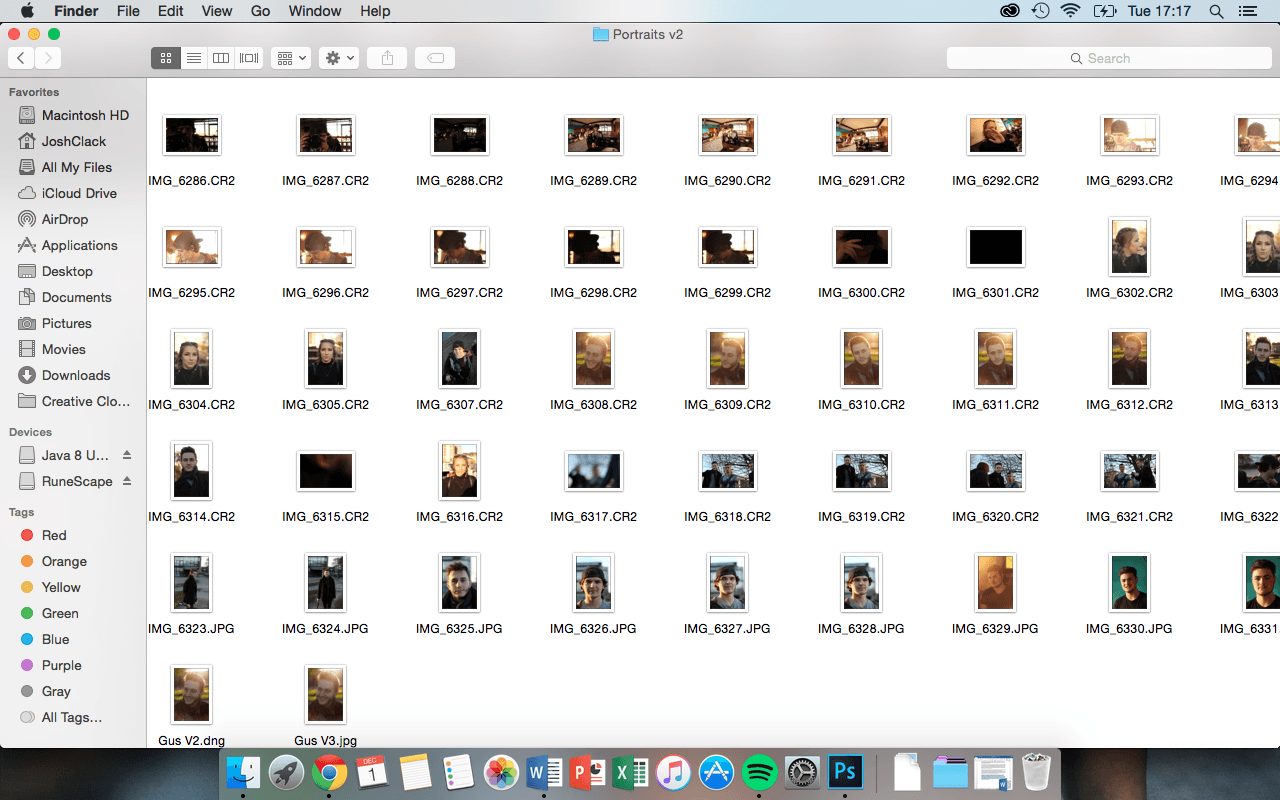
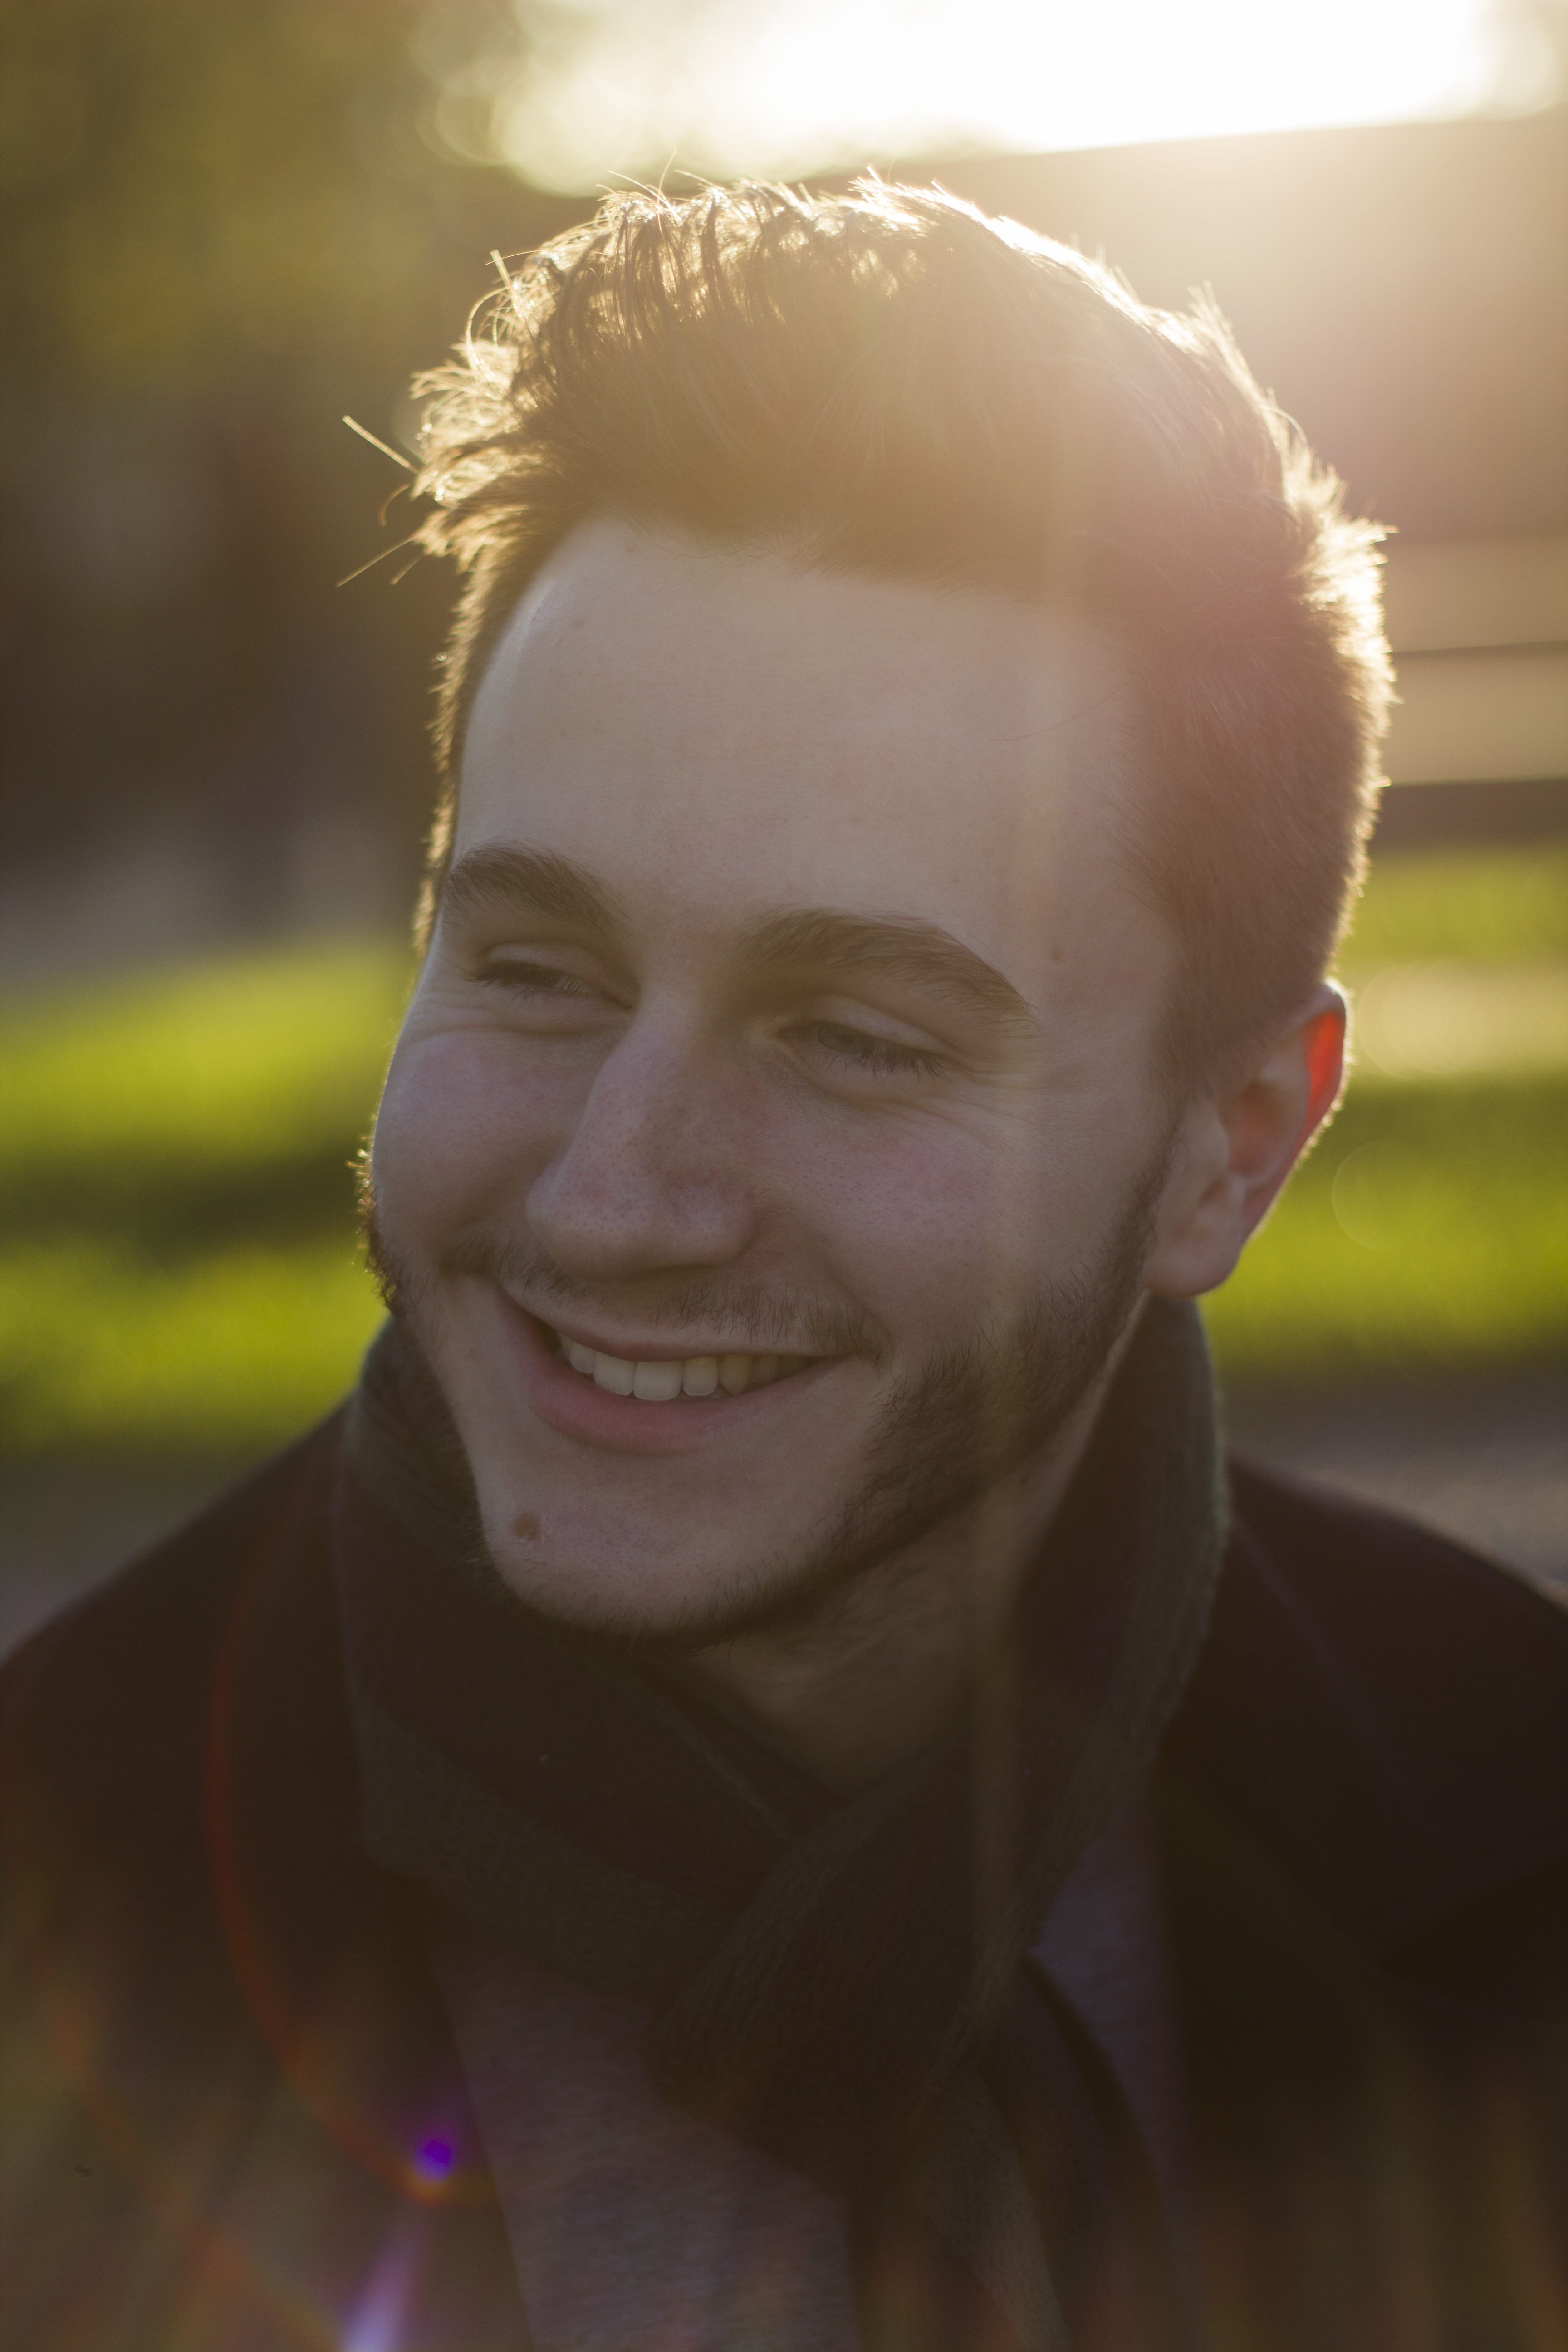
I chose this photograph as I like the use of light within the background which shines through and bounces off the glass of my lens to create lens flare. I like this as it adds different colours into my photograph which wouldn’t normally be involved with in a normal portrait. To keep his face still bright I had to use a reflector to bounce the background light on to his face so it was still able to see his whole face without the photo being underexposed. His facial expression also adds to this photograph because it looks like he is having a good time which then affects you into making you enjoy the photograph more. This is the only photo from the photo shoot which wasn’t staged which gives you a sense of him enjoying him self in the moment which then translate in creating a more natural pose and a more aesthetically pleasing photograph overall. The contrast between the pale skin of the models face and the bright green also helps distinguish the facial expression which with the overall warm colours of the photo helps convey a more positive emotion throughout. This photo was shot on a Canon 550D with a 50mm lens. It was shot at a 1/1600 shutter speed and a aperture of 1.8, my shutter speed was so high because with it being a sunny day and wanting to keep the open aperture for a shallow depth of field I had to make sure that to much light hit the sensor so my image wasn’t over exposed. Overall I am a fan of how this photograph came out and I like the diversity in the use of light.


IMG_6187


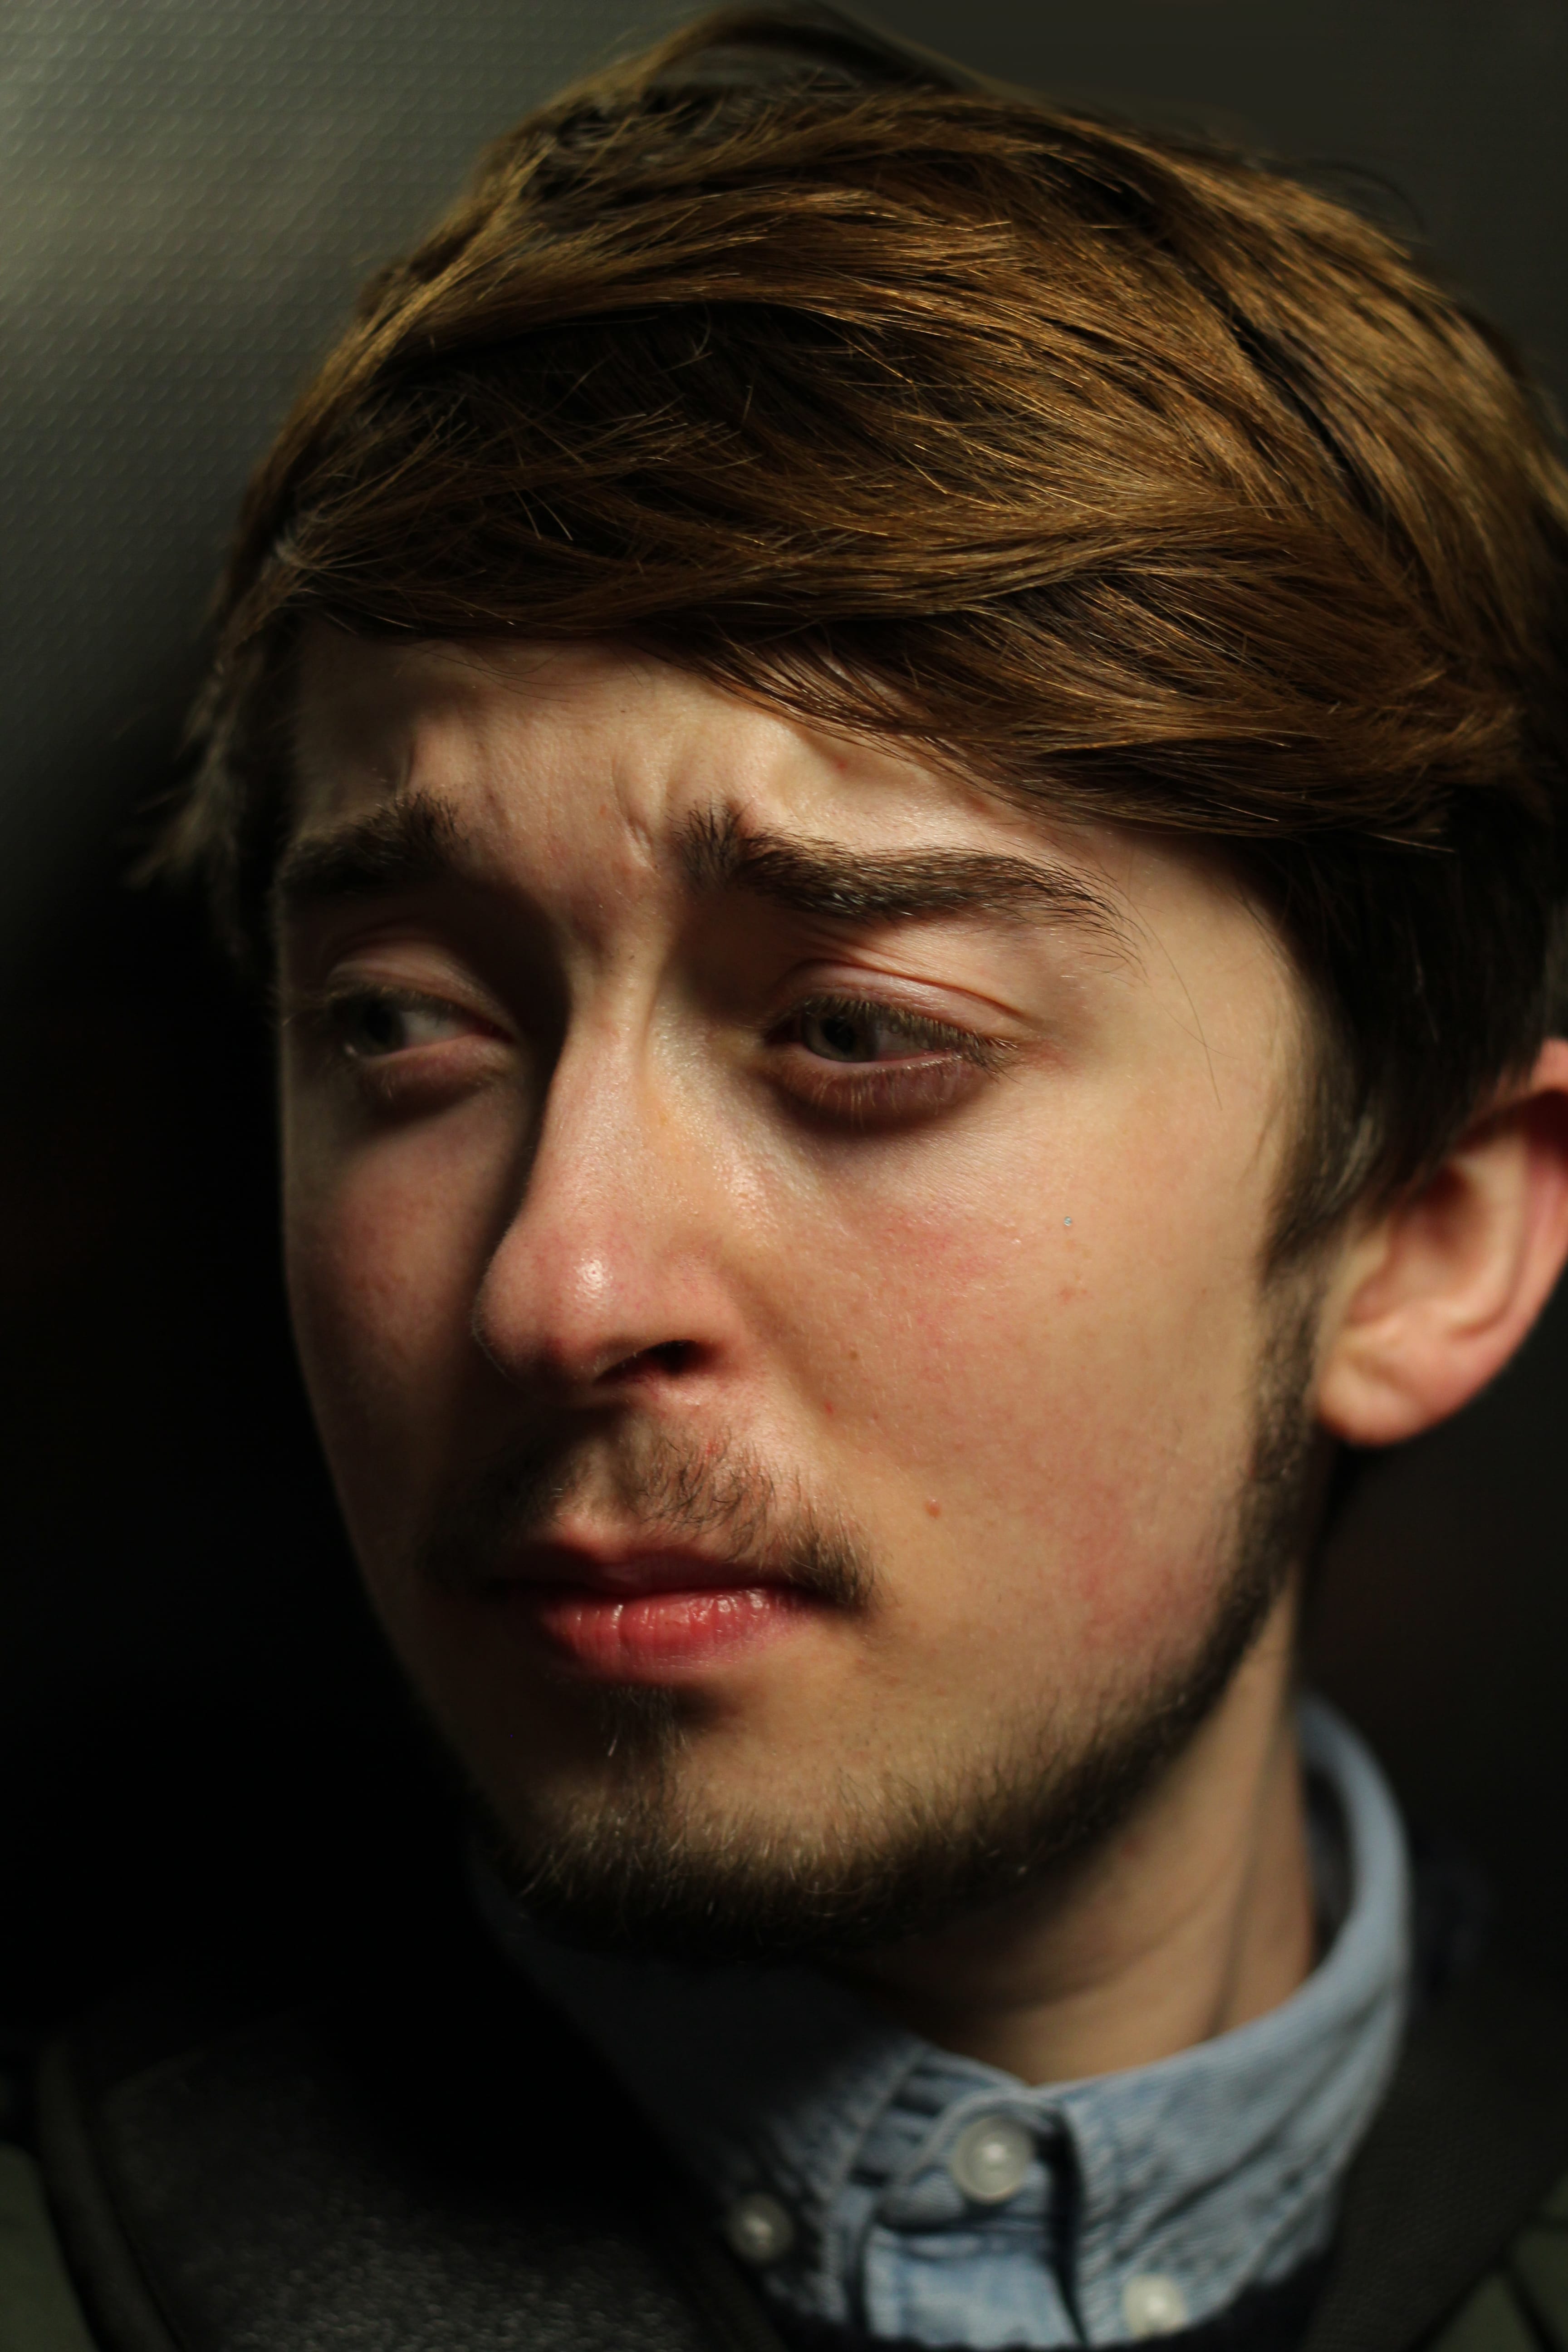
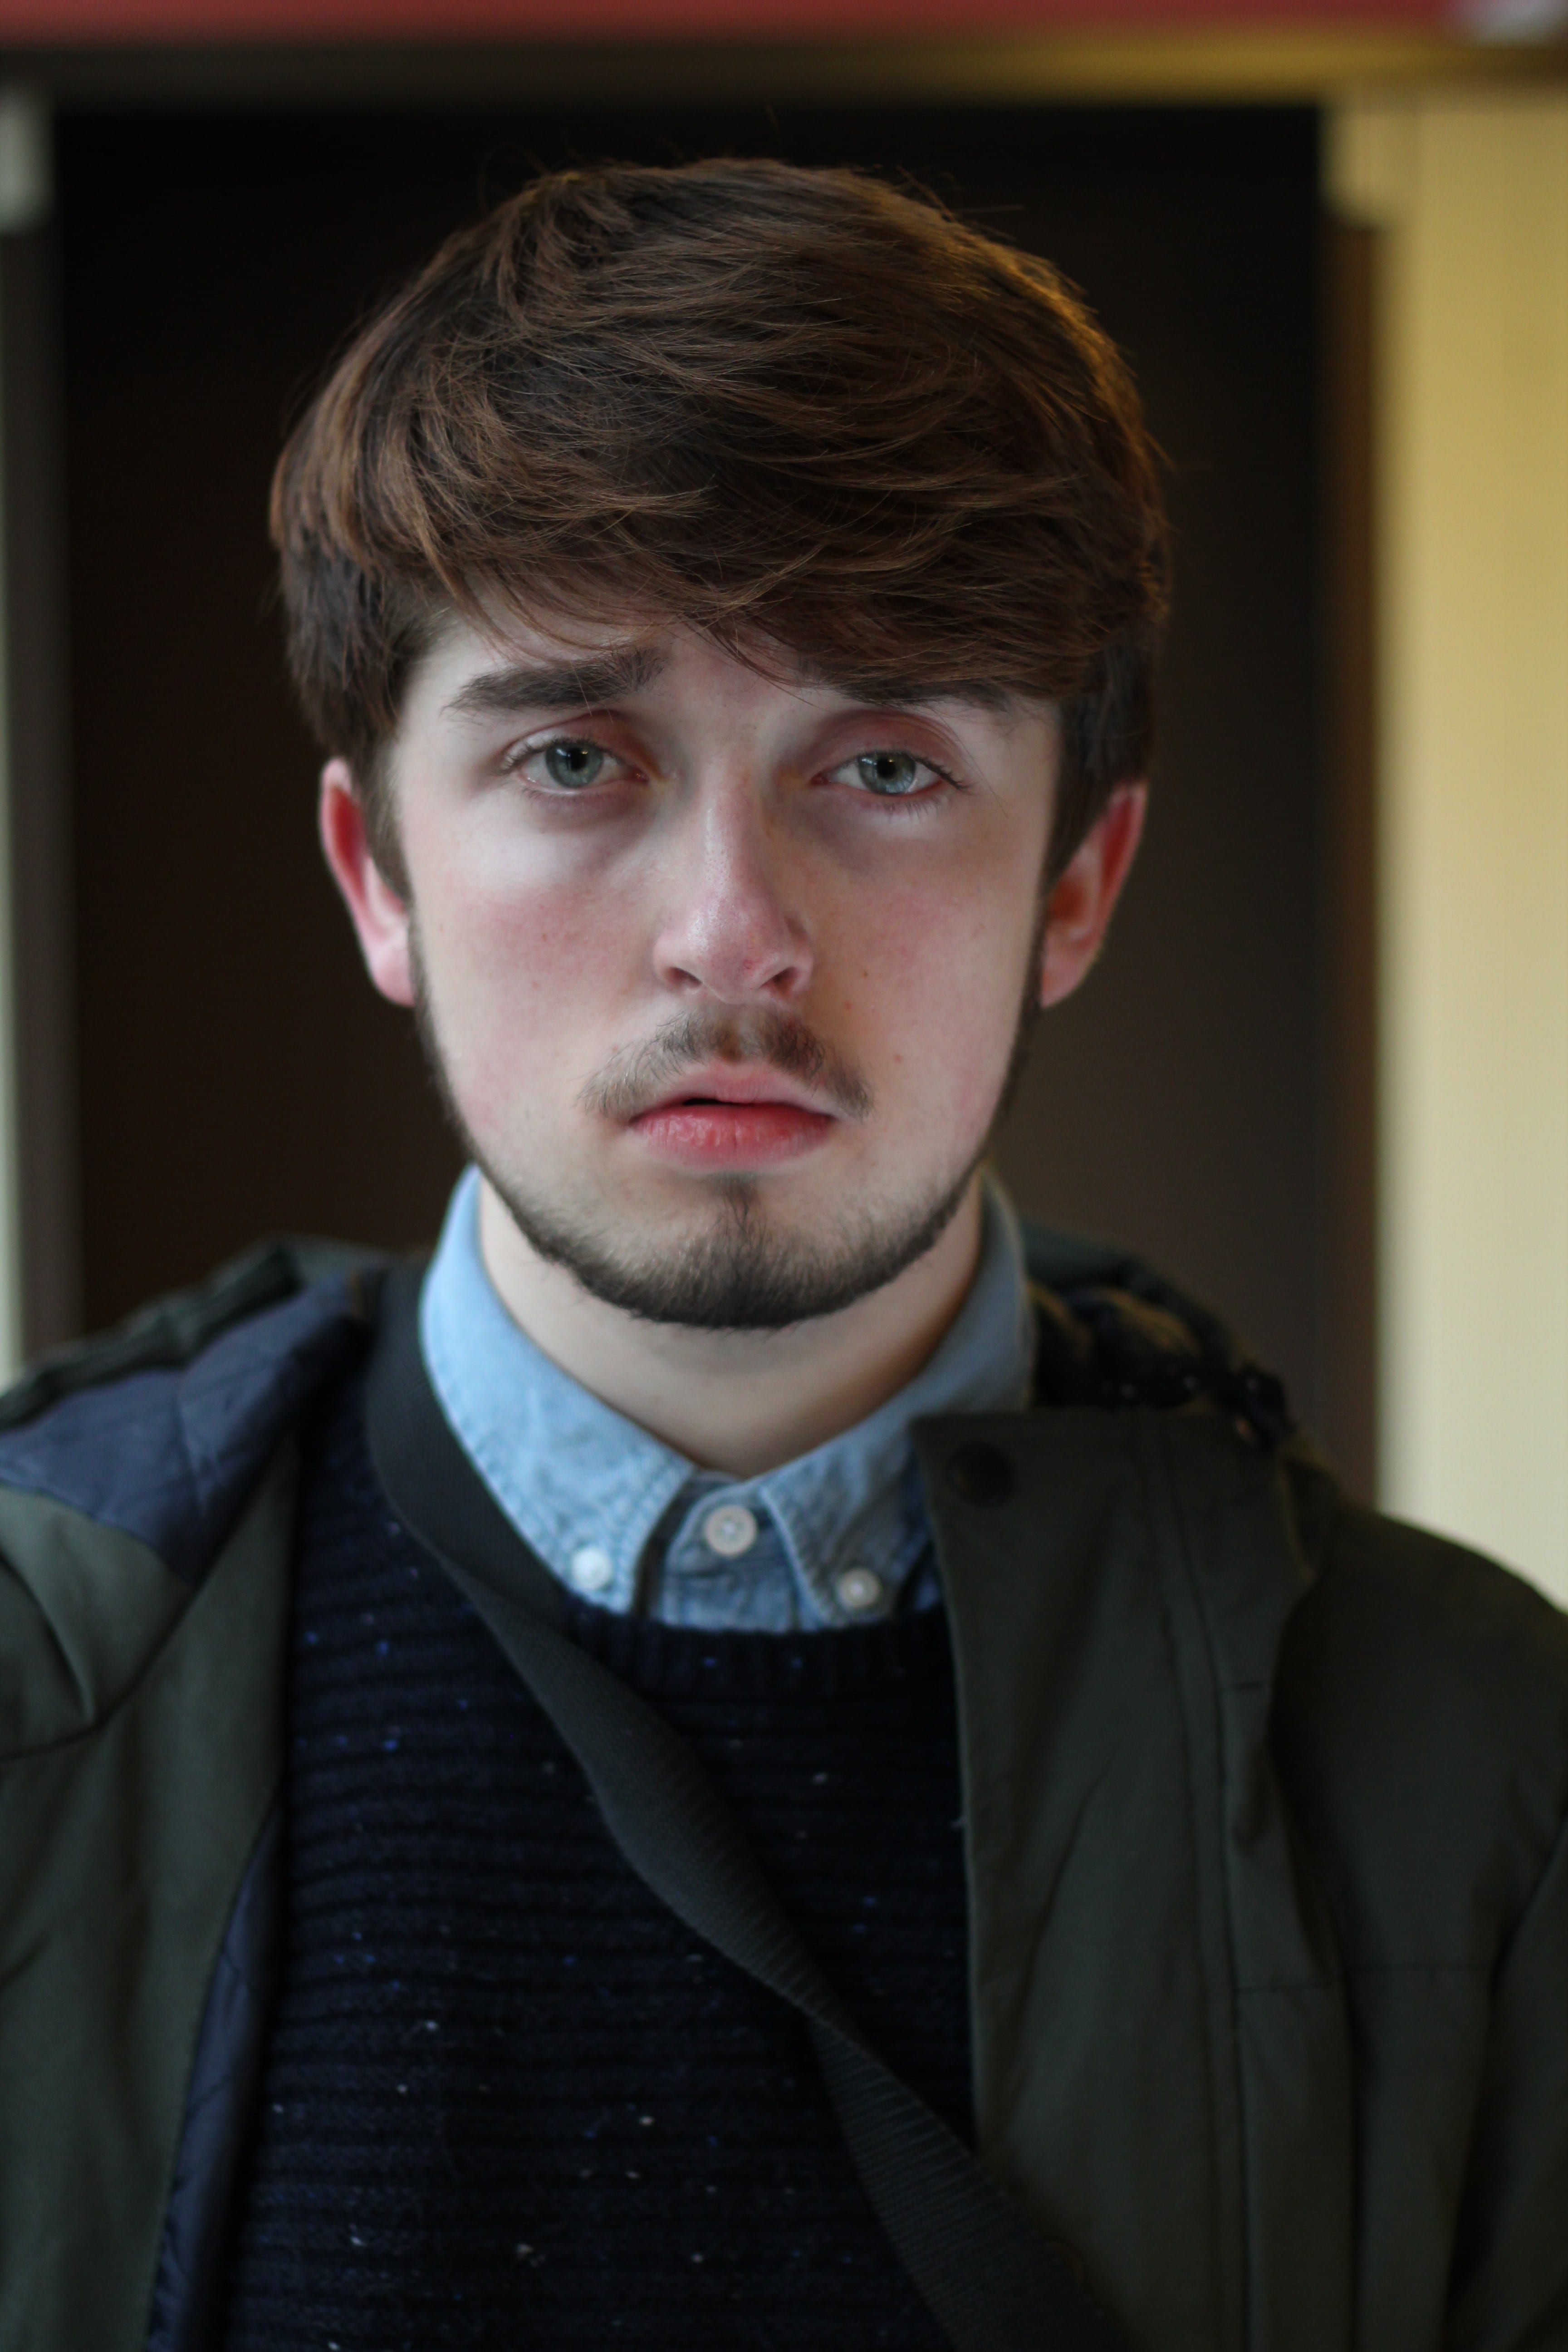
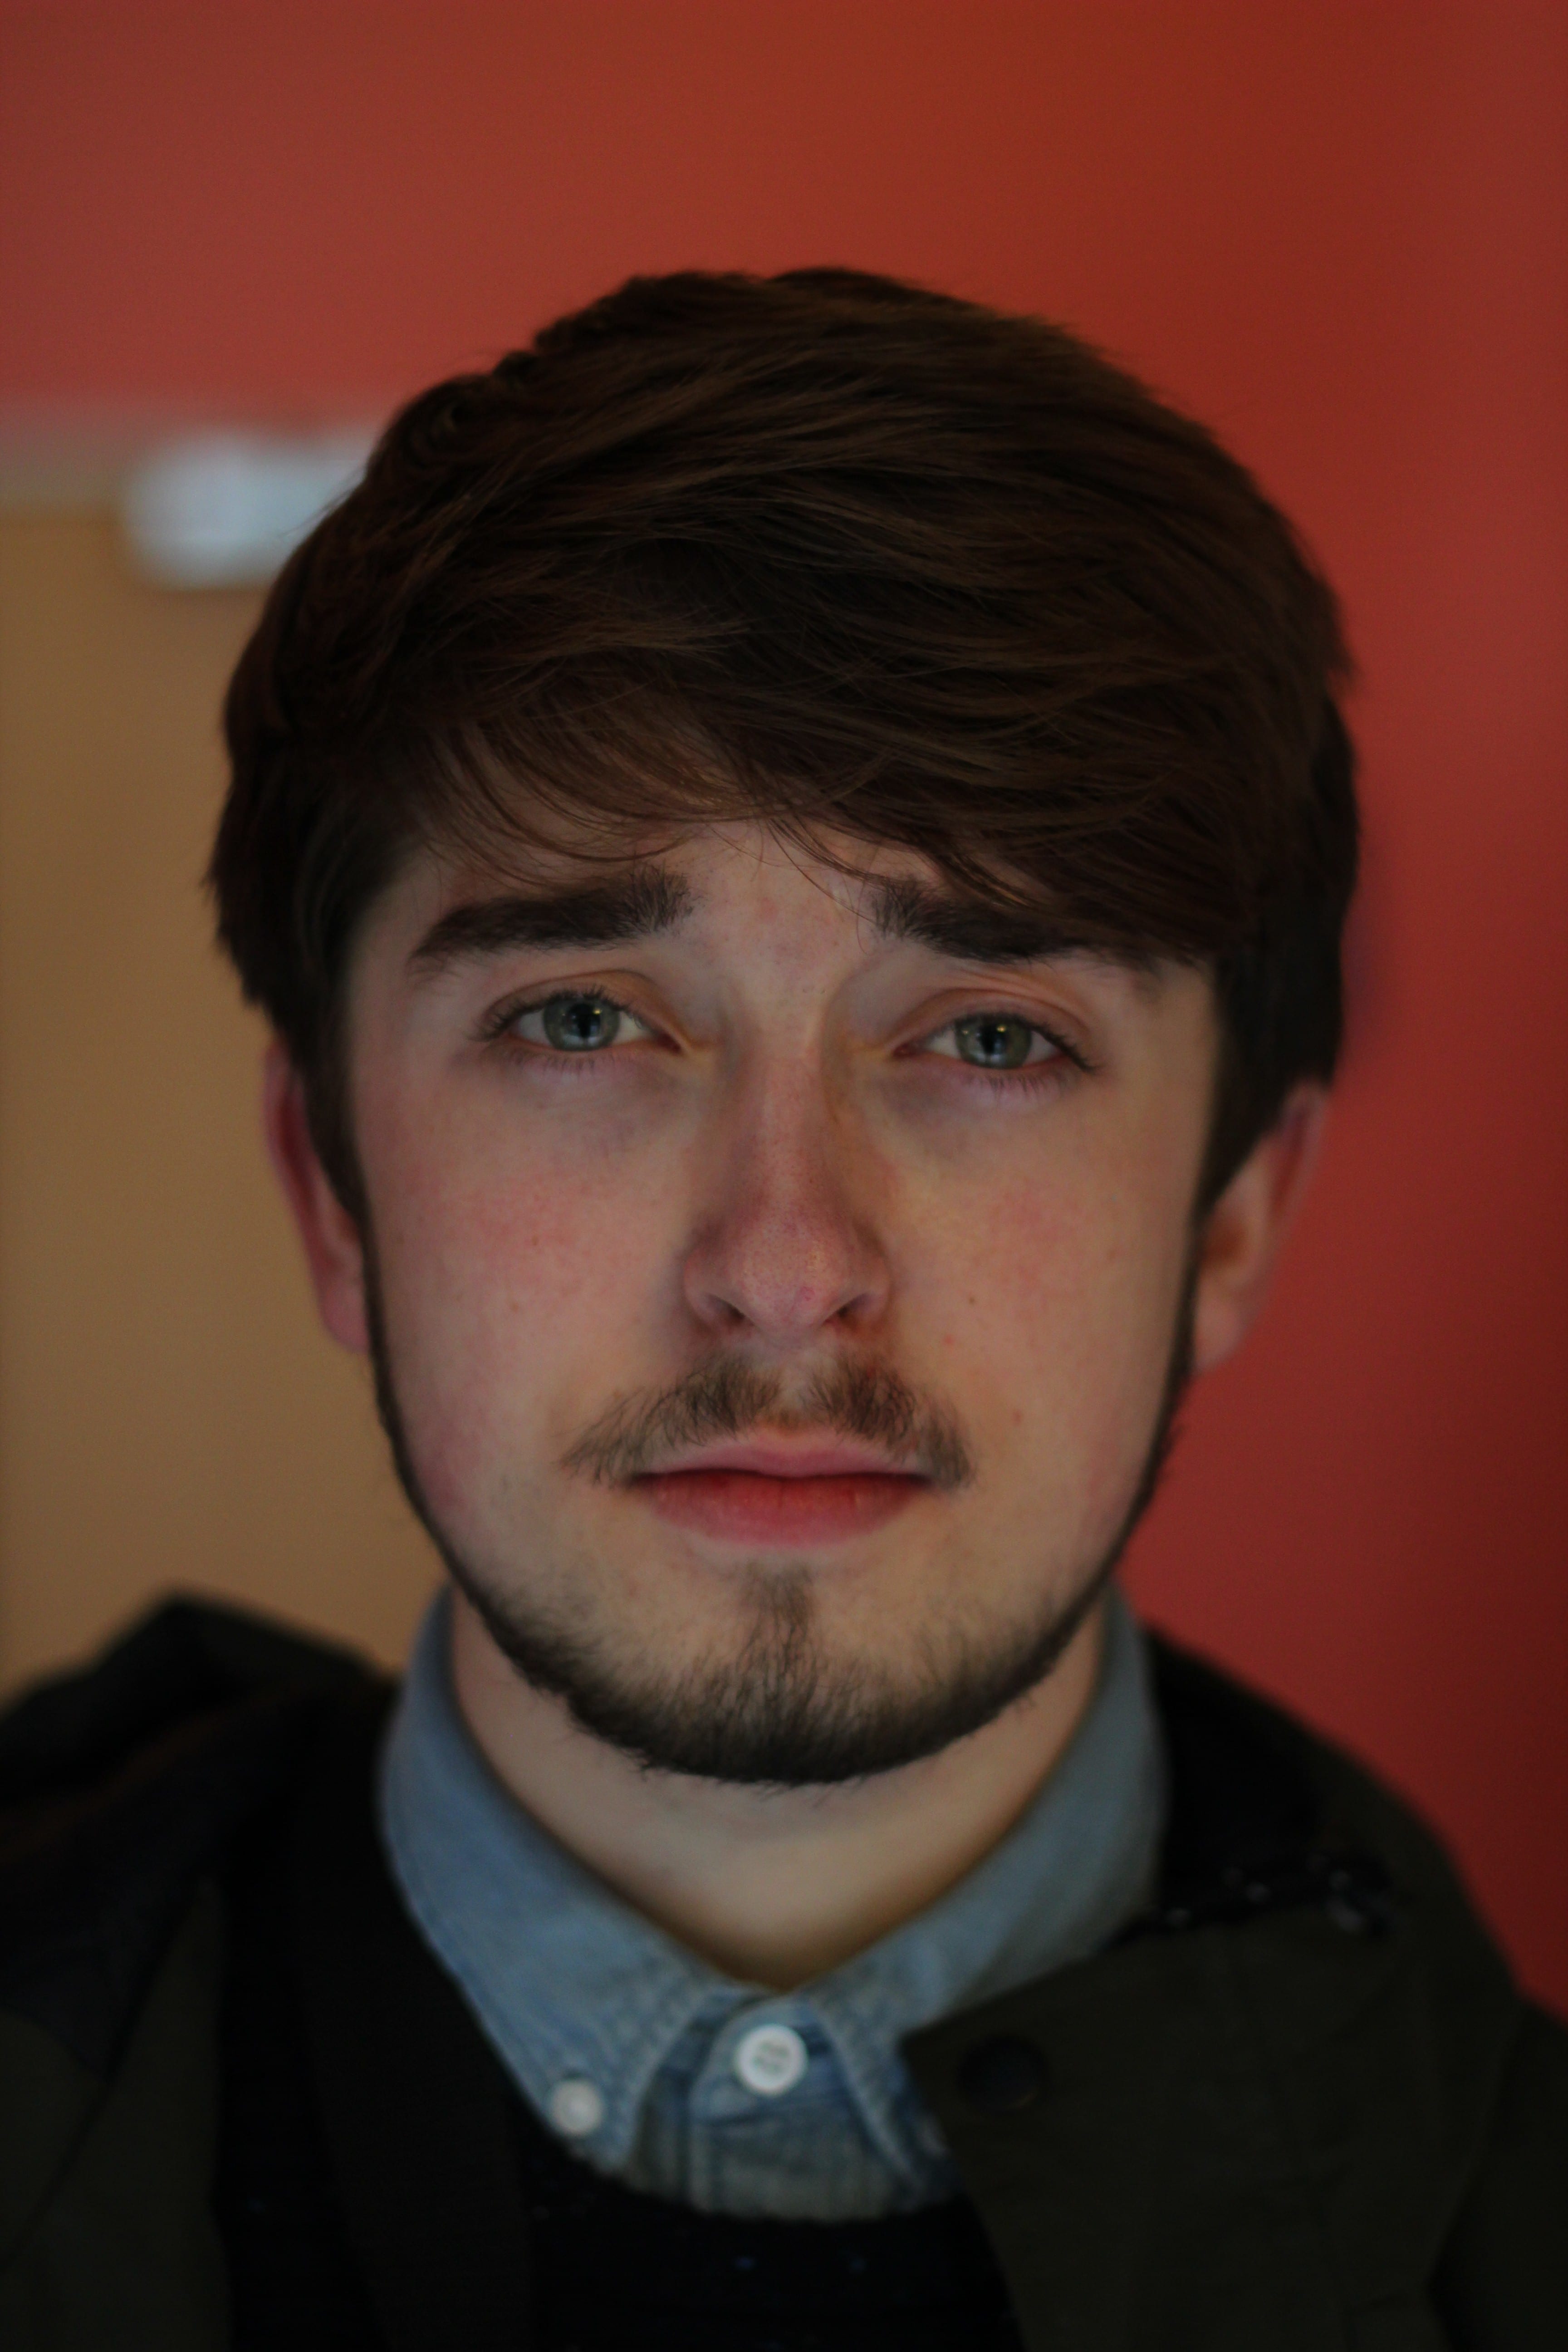
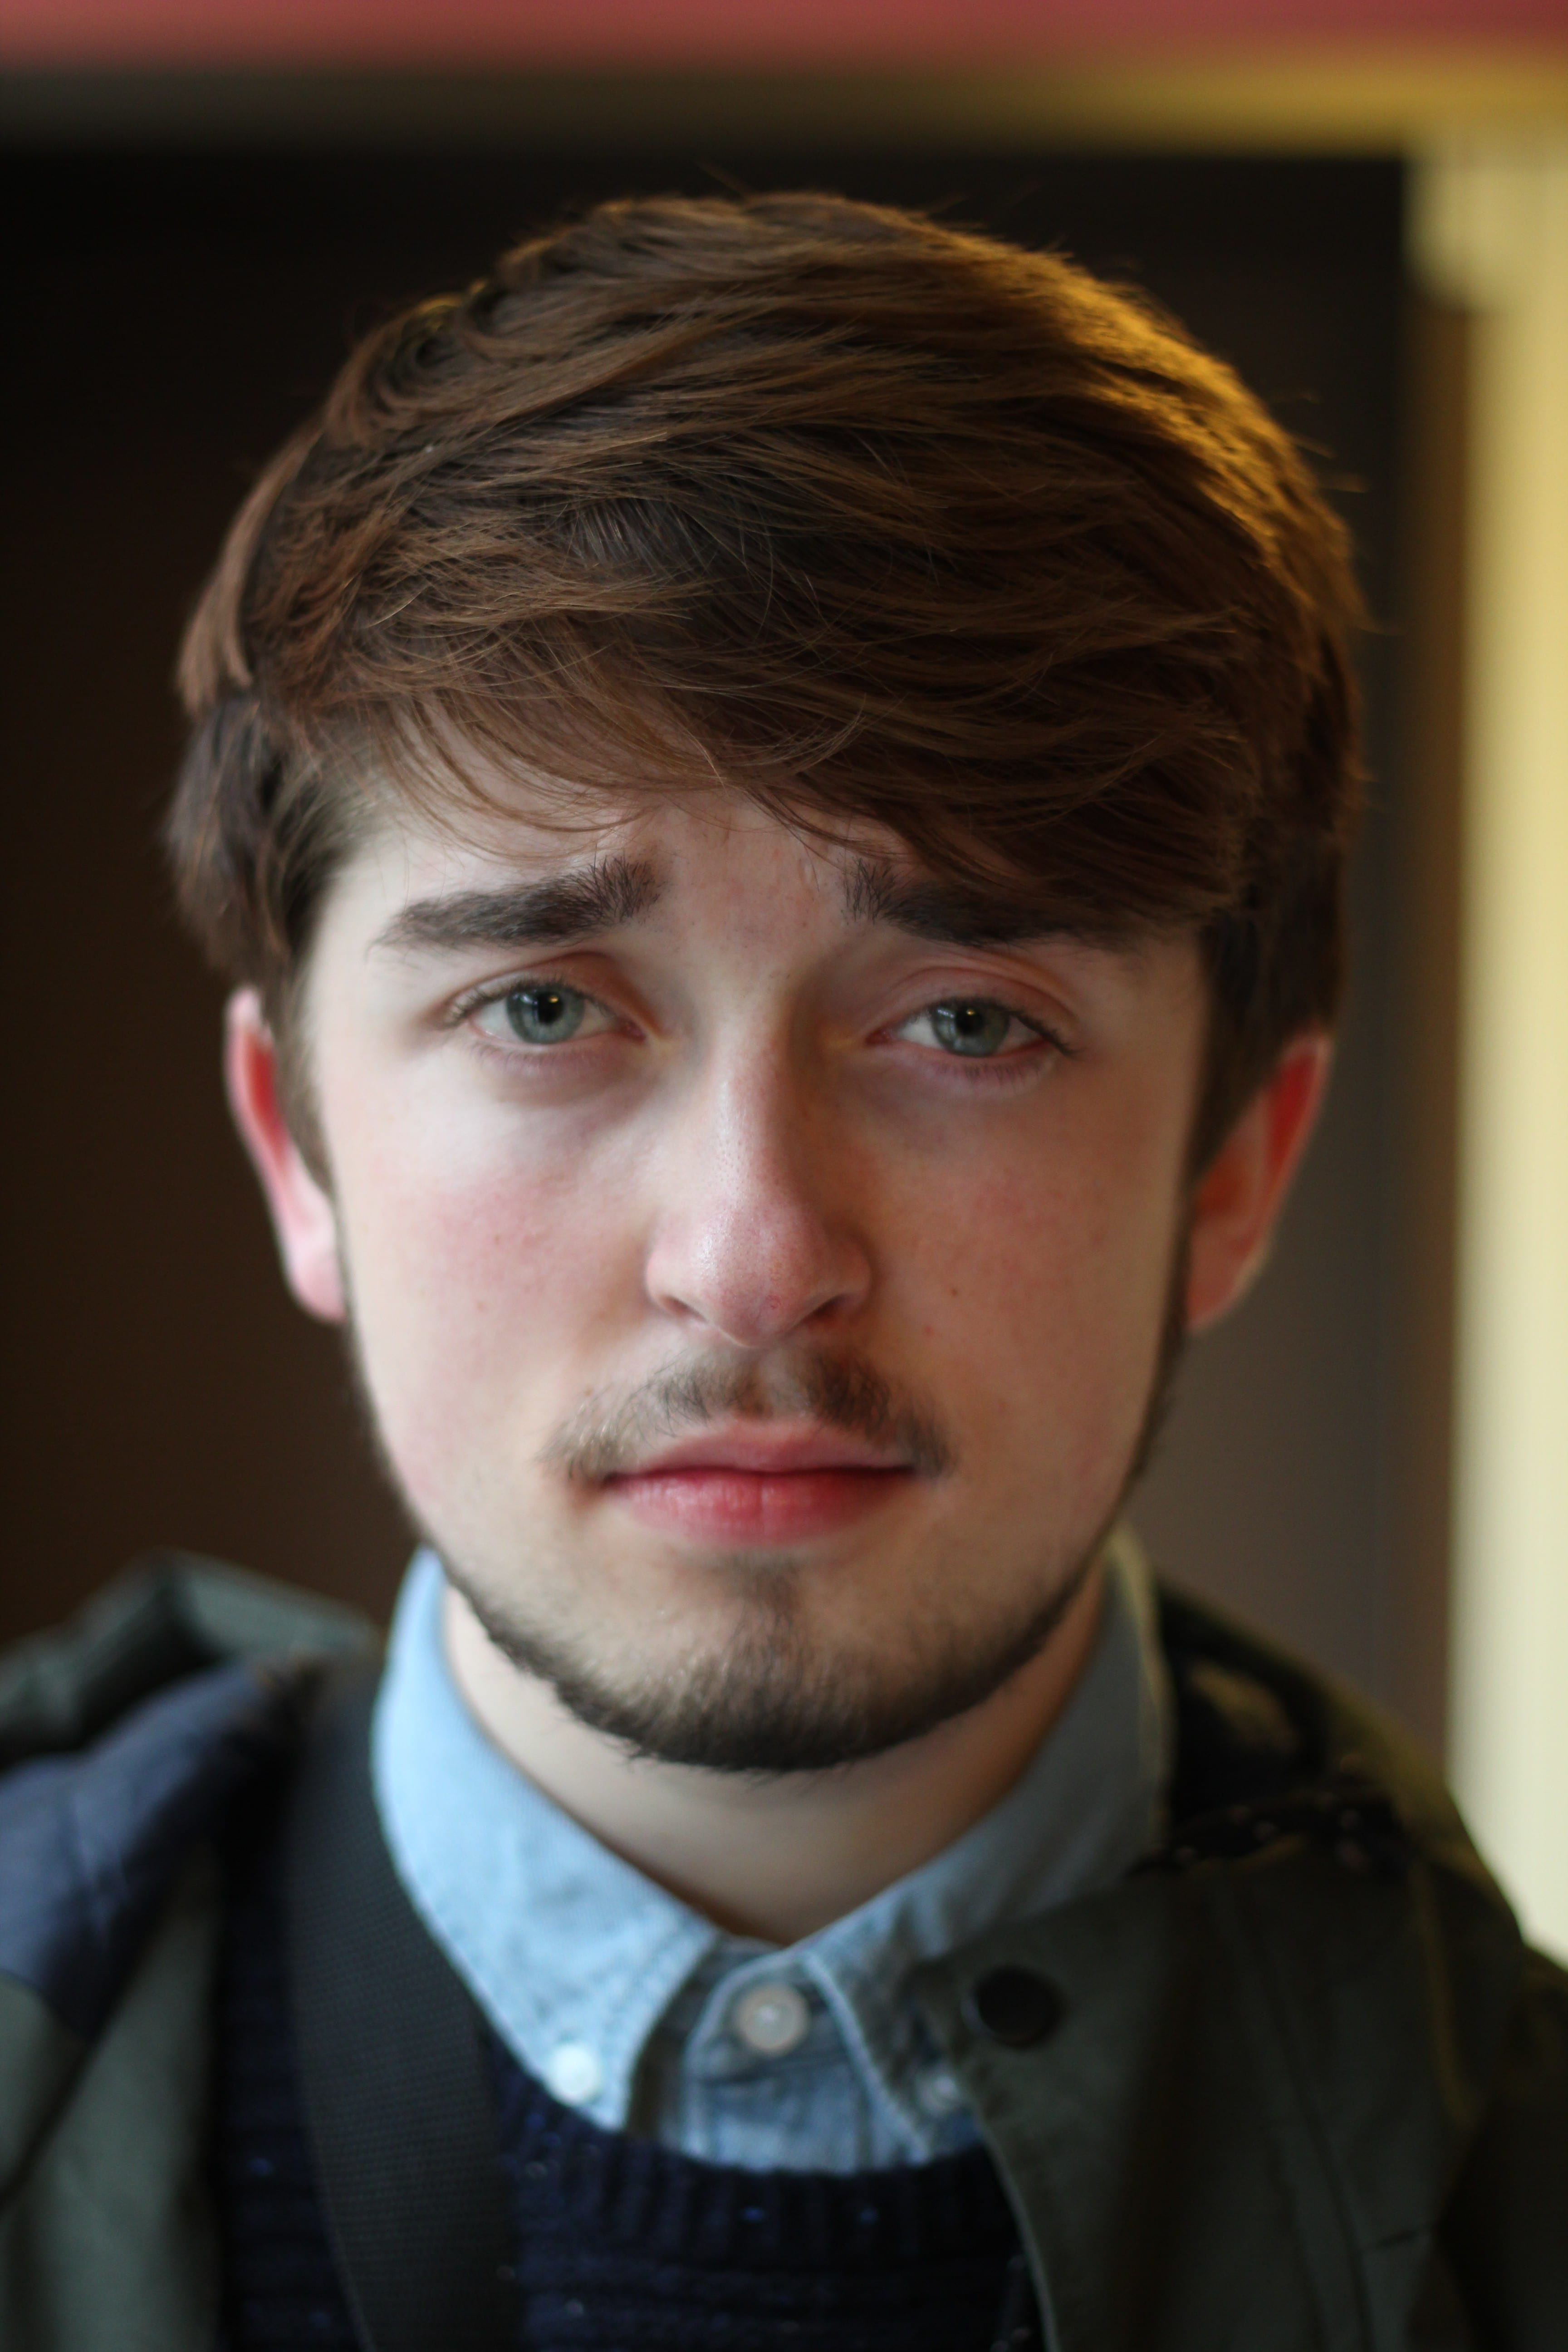
For this photo I tried to re create a passport photo with in every element in this photo while also trying to keep it informal. This photo doesn’t follow all the guide lines for a passport photo a couple things which is how his hair is slightly covering his eyebrow which wouldn’t be allowed. Also only the forefront of his face is in focus with it being out of focus just in front of his ears and backwards. This photo is shot on a completely plain background which helps the model stand out a lot more even comparing the dark background to his dark hair it is easily recognisable the difference between the two. In the photo the model has tried to pull a normal faced but it has came out looking quiet staged so if I was to do this again I would try to set it up so there was a more natural look on his face to add more life into the photograph. This photograph was mainly lit from the side so by using a reflector I was able to bounce natural light onto the other side of his face resulting in a perfectly exposed portrait. By bouncing the light, it also adds more diversity into the colours making his eyes and hair stand out a lot more because of the amount of light hitting them.  The depth of field of this photograph adds a edge to this as only the main facial features are exposed which gives the photo a different feel to if the whole photograph was focused. By doing this your eye is only drawn to them specific points within the photo. This photo was shot on a Canon 550D with a 50mm lens at a shutter speed of 1/200 and a f number of 1.8.


4 Portraits

IMG_6218


This photo is a portrait shot which mainly focuses on using the background to effect to give the image a more aesthetically pleasing look. For this image I tried to center the model in-between the bridge sides and the poles in the middle. By centering the model, I was able to create leading lines which aim towards his face which help draws your aim to the main focus in the image. By also incorporating the vertical poles right next to him it adds depth and height to the photo making a lot more pleasing to the eye. The main problem I had while shooting this photo was because his hood was on it was hard to get direct sunlight to the models fight. To counter this, I used a reflector which I placed on the floor at an angle to direct some more natural light onto his face which worked very well as it brightens up all of his facial features. If I was to retake this photo I would make sure that in the background, there was nothing so only the bridge was involved in the shot so instead of taking this photo landscape I would of took it portrait. This shot was taken on a Canon 550d with a 50mm Lens. I used the settings 1/2000 shutter speed and a f stop of 2.5. The shutter speed was so high because I had the aperture there about fully open on a sunny day so had to bump it up so the photo would not be over exposed. Overall i like the composition of this image and thinks it works very well.


oli


For this photo i decided to shoot in black and white as I wanted to create a different feel throughout the photograph. This photo follows the composition of a passport photo but it does not follow the rules of a passport. What differs this to a passport photo is how it is not in colour, shot on a plain background and he is wearing a hat which would not be allowed in a formal photograph. I have positioned the models head in a way which is captured by the dark building in the background which in a way makes the photo as a whole a lot more interesting. I like the way it almost looks like he is trapped within a box and then it is bordered by the bright white sky. The point of this photograph is to see what effect the black and white had on it and overall i think it came out looking a lot better than the original image. This Photo was shot on a Canon 550d with a 50mm lens at a shutter speed of 1/400 and a f number of 2.5.

Joel Fixied


This photo focuses on the use of one sided lighting and see how differently it would make the model look. By keeping this photo lighted on one side it makes his facial feature stand out and creates a lot of shadowing over the face which I think adds depth to the image as it shows the different layers of his face being affected by the light. The model is not facing towards the camera which means this is a informal portrait which doesn’t follow the standard passport photo rules. The main use of this photo was to experiment with light use and I think it has helped as I now know how to light photos to create different moods within my photos. In the original photo there was a pole behind his dead so during editing i decided to get rid of it so nothing in the background was distracting you away from the model. This photo was shot in a very low light condition so i had to open the aperture and lower the shutter speed to achieve a good still life image.  This photo was shot on a Canon 550d with a 50mm lens at 1/100 and f2.5.


jakey boy


This photo was shot in there about complete darkness with only one light for the shot. I placed this light in front of the model to get the full colour out of the model face. In the background you see lights from various flats which light up the background i personally like the look of this as it keeps the background interesting while still only focusing on the model. I had to shoot this photo at a high ISO so it has came out quiet grainy and editing the raw file in photoshop also effected the quality while bumping up certain settings. The experience of shooting in there about complete darkness helped realised how much the use of light can affect your work. This photo was shot on a canon 550d with a 50mm lens at 1/60 and f.1.8.

Portrait Photoshoot

Screen Shot 2015-12-01 at 17.17.55

This was my final photo shoot for portraits where I involved different models and different locations to achieve better overall portraits. I took everything I learnt and tried to involve all of that in this photo shoot. This photo shoot was one my most successful with a lot of photos coming out well. I experimented with back lighting on certain photos which led to lens flares which also adds diversity into the photos. This photo shoot was very successful over all.

Workshop Portraits


IMG_6195 IMG_6204 IMG_6211 IMG_6183 IMG_6181In this workshop we were told to go out and shoot some portraits and experiment with light using reflectors. In a few of these shots you can see how I have used the reflector to bounce certain parts of the light around the image. This gives a different view of the models face and can also change the impression of his face you receive. For this photoshoot i shot on my own camera which was a Canon 550D with a 50mm f1.8. This meant I was able to get a very shallow depth of field, with this i was able to get very out of focus backgrounds which means you are more likely to focus on the models face. Even tho I didn’t want the backgrounds to over take the model i wanted to include aspects just to make the images look more interesting and more appealing to the eye. Overall the workshop went well and I achieved some good photos.

Workshop Portraits Photo Shoot

joel screenshots


This photo shoot was mainly set around the university of Lincoln campus and I used Joel Bedworth as a model through out this shoot. I shot the same sort of photo on different backgrounds and using different lighting options to see what sort of effect it would give and how it changes the feel of the photos. I used a reflector on this shoot to bounce natural light around to light up my model face better in certain situations and this worked out well. This photo shoot taught me a lot about framing my portraits and how much of a effect the background can have on them.